
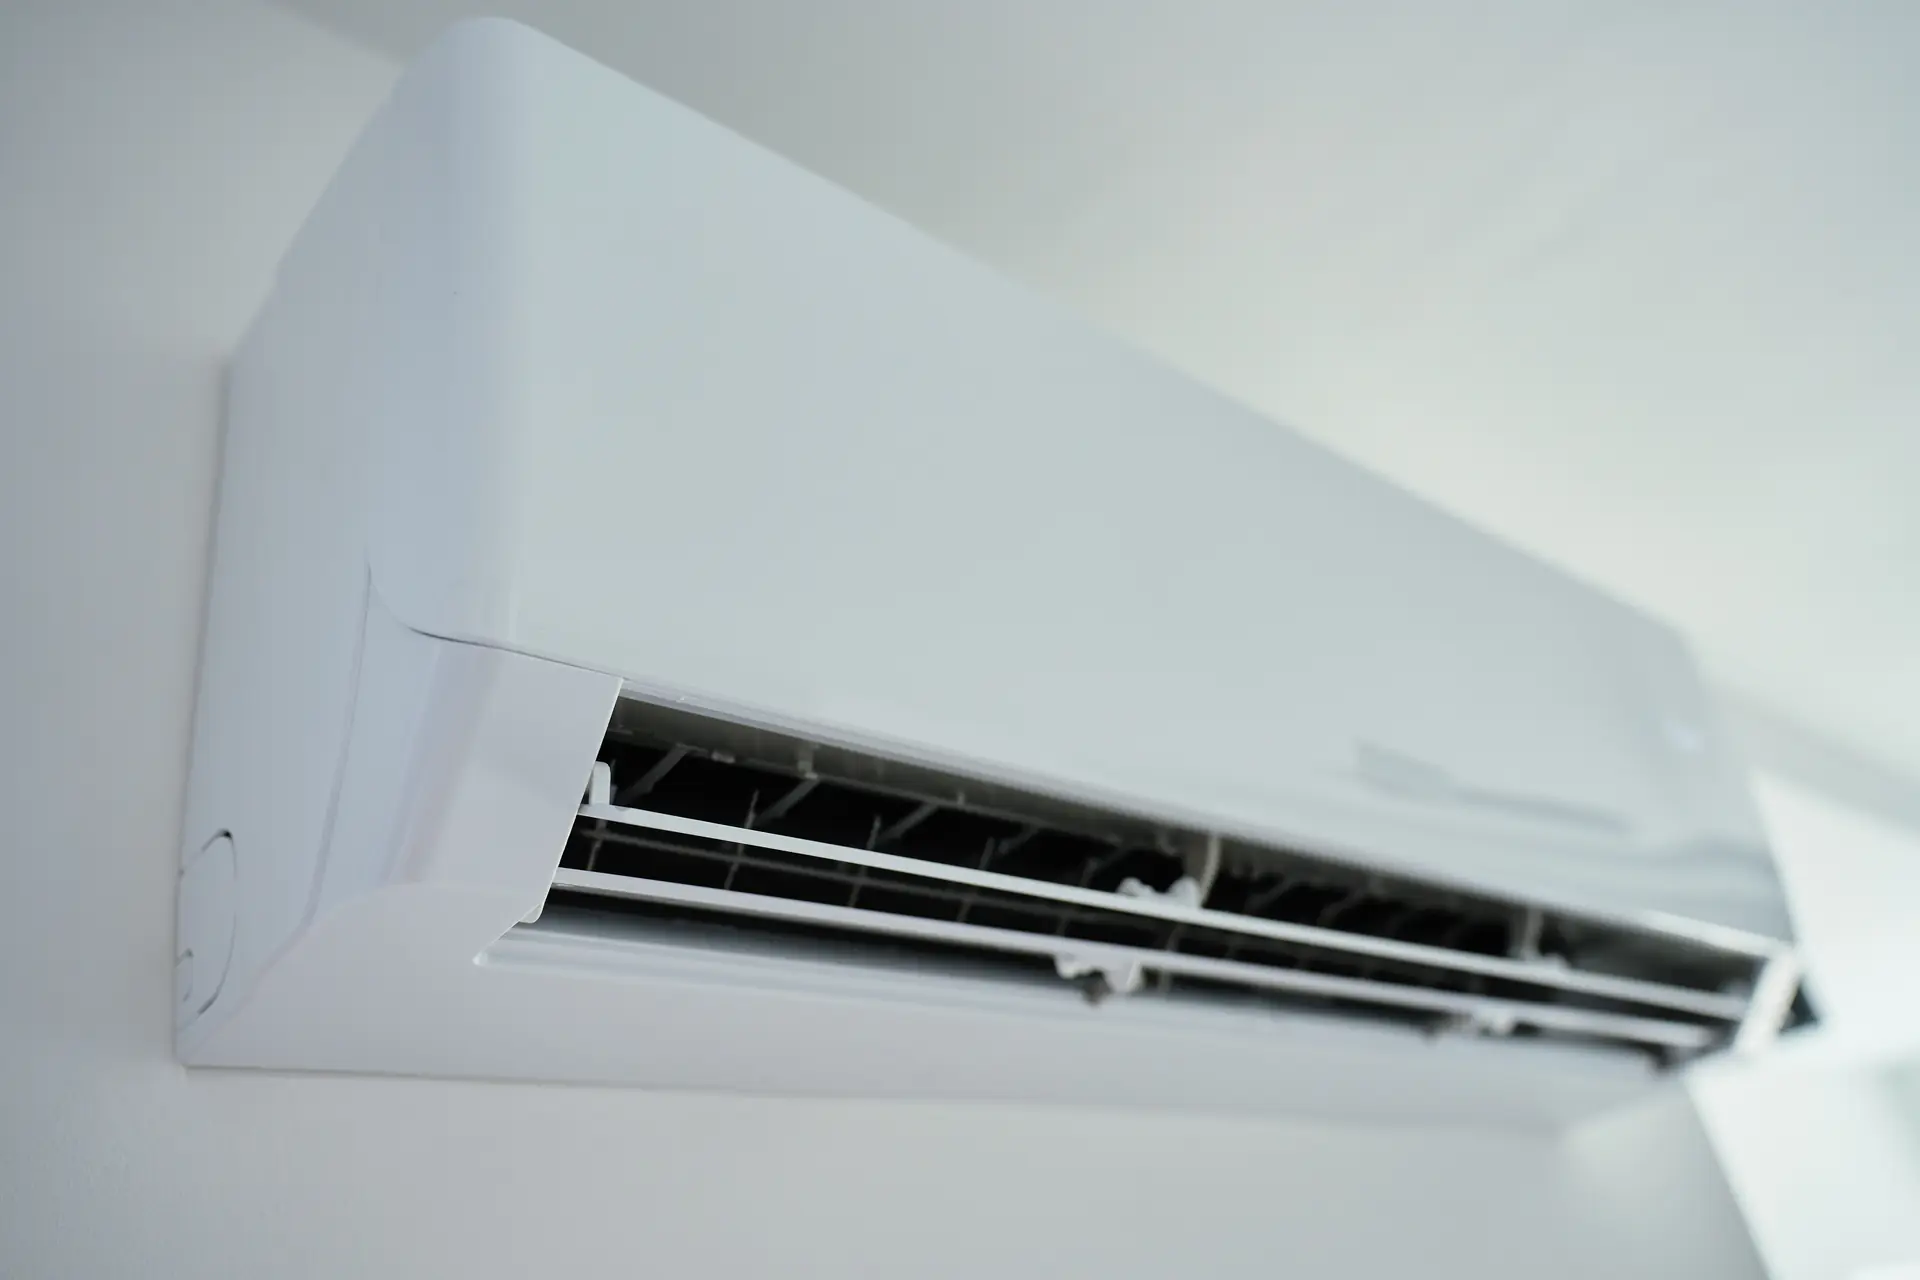
New Ductless Systems
Mini-Split Installation in New Bern, NC
GP Heating & Cooling is a family-owned and locally-owned company based in New Bern, NC. We install ductless mini-split systems for homes, additions and individual rooms where running new ductwork is not practical. Every installation begins with a survey of the rooms, the outdoor site and the route for each line set, so the system is planned around your home. We are a Tosot Dealer for mini-split systems, we also work with Mitsubishi equipment, and we bring 22 years of experience to every project. Tell us which rooms need attention and we will explain your options in plain language.
What Guides Every Install
Why Our New Bern Mini-Split Company Plans Each Install Room by Room
A ductless installation is a permanent part of the home, so the planning behind it matters as much as the equipment. These six commitments shape how we approach each project from the first conversation to the final test.
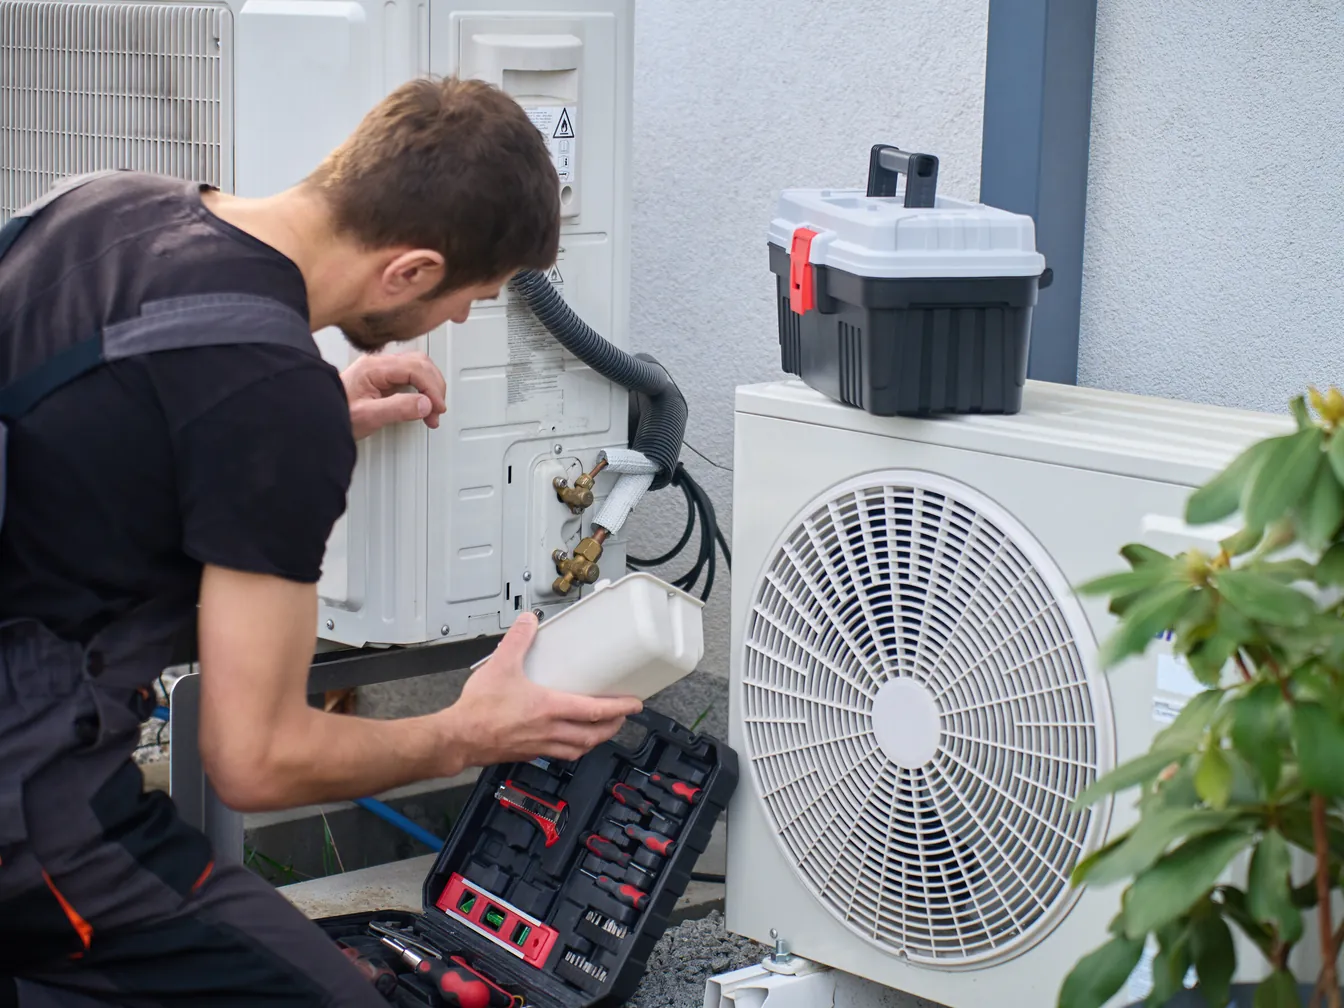
A family-owned commitment to every zone
A ductless system can serve several rooms, and each indoor unit becomes part of your long-term comfort. As a family-owned business, we stand behind the full installation, from the first room survey to the final check, and we want the layout to suit your household for years. You can learn about the people behind the company on our About Us page.
Equipment relationships built for ductless work
We are a Tosot Dealer for mini-split systems and also work with Mitsubishi equipment, alongside our Armstrong ProTeam Dealer and Ducane dealer status. These relationships help us compare ductless lines against your rooms, outdoor space and comfort goals. Tosot equipment carries a 7-year warranty out of the box, and we explain that coverage before you choose.
Room-by-room layouts set before equipment is chosen
We plan each indoor head location around how the room is used, where sun and windows affect temperature and where the wall allows a clean mounting. Our team explains the layout in plain terms, so you can see how every zone will be served before any work is scheduled.
22 years of experience behind the install
Our team brings 22 years of experience in heating and cooling to each ductless project. That background lets us check the outdoor site, the wall penetration, the electrical supply and the refrigerant lines as one connected installation rather than separate tasks.
Written notes you can review at your own pace
Each recommendation comes with written notes covering the system size, the indoor unit locations and the line set route. You can compare the options, ask questions and decide without pressure, because the plan on paper matches the work we perform.
Financing and planned care after the install
Larger multi-zone projects can be easier to plan with Service Finance, and our maintenance plan can keep the new system on a regular schedule once it is running. Review our financing options before you commit to a timeline.
Plan Your Project
Tell Us Which Rooms Need Ductless Comfort
Describe the rooms you want to condition, whether the space is an addition, a sunroom or an existing room without ductwork, and the comfort problems you are noticing. Our team will follow up with next steps and the details we need for an installation plan. You can send that information through our contact page. If your current system needs diagnosis first, our mini-split repair page explains that service, and our mini-split maintenance page covers planned tune-ups. Our mini-split overview brings the full range together, so you can see where installation fits.
How the Project Unfolds
From Room Survey to Owner Handoff
Each ductless installation follows the same planned sequence, so you know what to expect at every stage of the project.
Step 1 of 5
Room Survey and Comfort Goals
We begin by learning how each room is used and where the comfort problems start. Those answers shape the system size and the number of indoor units before any equipment is selected.
- Walk through each room that will be conditioned, noting its windows, exterior walls and any rooms that stay too warm or too cold.
- Ask how the household uses each space, including sleeping areas, home offices and rooms that see seasonal guests.
- Review insulation, ceiling height and any drafts, since those details change how much heating and cooling each room needs.
- Discuss whether the new system should work alone or alongside an existing furnace, heat pump or central air conditioner.
- Note any air quality concerns, and talk through whether our indoor air quality options belong in the plan.
Step 2 of 5
Outdoor Unit Placement and Line Set Route
The outdoor condenser needs a stable location with clearance for airflow and service access. We also map the path that the refrigerant lines, drain line and power cable will take between the outdoor and indoor units.
Settling the outdoor site and the line route at this stage keeps the rest of the project organized, so the crew can move from start to finish without rework.
- Identify a level mounting spot for the outdoor unit, with clearance for airflow and room to reach its service panel.
- Consider how the unit’s sound and placement will affect nearby windows, patios and neighboring spaces.
- Plan the refrigerant line set route, keeping bends and runs as short as the layout allows.
- Choose the wall opening for the lines, and confirm the path avoids framing, plumbing and electrical runs that could be disturbed.
- Confirm that the condensate drain can slope away from the indoor unit, or that a small pump is needed.
Step 3 of 5
Indoor Head Layout and System Sizing
Indoor head placement determines how evenly each room heats and cools. We size the system to the rooms it will serve rather than to a fixed number of units for the whole house.
- Compare wall locations for each indoor unit against furniture, doorways and the path that conditioned air will travel.
- Keep indoor units clear of obstructions, and mount them where the filter can be reached for routine cleaning.
- Check total capacity against the rooms, so each zone is matched to its own heating and cooling demand.
- Review the indoor unit styles available for the project, and explain the trade-offs of each in plain language.
- Provide written notes listing each indoor head location and the outdoor unit placement for your review.
Step 4 of 5
Mounting, Line Sets and Electrical Connections
Once the layout is approved, the crew mounts the equipment and connects each component. Careful work at this stage protects the sealed refrigerant circuit and the reliability of the power supply.
- Mount the outdoor condenser on a level pad or wall bracket, secured against vibration and the weather it will face.
- Set each indoor unit on its mounting plate at the approved height, leveled and fastened to the wall framing.
- Install the refrigerant line sets, insulate them, and seal the wall penetration against water and air infiltration.
- Run the drain lines, communication cable and power connections, verifying that the electrical supply matches the equipment requirements.
- Confirm any panel, breaker or dedicated circuit work the equipment needs, and explain that work to you before it begins.
Step 5 of 5
Startup Testing and Owner Handoff
The final step confirms that the system works in every room and that you understand how to use it. We test the work before we leave, then walk you through the controls and the routine care each unit needs.
- Evacuate the refrigerant lines and check the circuit for leaks before the system is charged and started.
- Run each indoor unit in heating and cooling modes, checking airflow, temperatures and drainage in every zone.
- Verify the remotes, controls and scheduling features, so each room responds to its own settings.
- Walk you through the remote, the filter locations and the signs that suggest a unit needs attention.
- Hand over your project documentation, including equipment information and the warranty details for your Tosot or Mitsubishi system.
Financing
Flexible HVAC Financing for New Bern Homeowners
A new heating or cooling system is a major purchase, and it rarely arrives on a convenient schedule. We offer financing through Service Finance, so you can get the comfort your family needs now and pay for it over time.
Talk with our team about the system or repair you need, and we’ll help you get started on a Service Finance application. We’ll answer your questions along the way so you understand your options before you commit.

Financing through Service Finance makes it easier to invest in the right heating and cooling equipment for your home. Contact our team to learn more and apply.
Contact Us to Apply
Common Questions
Mini-Split Installation Questions Answered
We start with the heating and cooling demands of each room rather than its floor area alone. Insulation, window exposure, ceiling height and occupancy all affect the load. We compare those findings against the equipment options and explain why each indoor unit and outdoor capacity fits the plan. An undersized system struggles in extreme weather, while an oversized one cycles on and off, so sizing matters.
Indoor units are normally mounted high on a wall, where air can circulate across the room without blowing directly onto beds or seating. We look for clear wall space, a route for the line set behind the unit and enough room for filter access. Our team shows you the proposed locations and explains how each one affects airflow before any opening is cut.
The outdoor condenser needs a level, stable surface with open space around it for airflow and service. Many installations use a pad or wall bracket that keeps the unit off the ground and away from standing water. We also consider noise, the view from nearby windows and the length of the refrigerant lines, since shorter runs usually simplify the installation.
The line set, drain and cable pass through a single opening in an exterior wall, usually through a sleeve sized for the lines. After the lines are routed, we seal the opening so water and air cannot enter the wall cavity. The seal is checked before we leave, and the exterior is restored as closely as possible to the surrounding wall.
Condensate from an indoor unit normally drains by gravity, so the line must slope away from the unit. When the layout does not allow a downhill run, a small condensate pump can move the water to a suitable drain point. We confirm the drainage route during the layout review, so the drain does not stain walls, collect water or freeze in cold weather.
In many homes a mini-split can supplement an existing system, serving a room or addition that the central equipment does not reach well. Whether that setup suits your home depends on the equipment, the controls and how the current system is used. We review your furnace or heat pump during the survey and explain how the two systems would complement each other rather than compete.
Adding rooms later is possible when the outdoor unit has capacity for another indoor head and the new room’s load fits within the plan. We check that capacity during the first design and may recommend a layout that leaves room for future zones. If the outdoor unit cannot support another indoor unit, we explain what would be needed, such as a second outdoor unit, so you can plan the expansion with clear expectations.
Most ductless systems need a dedicated electrical circuit that matches the equipment requirements, and the panel must have capacity for it. We review the electrical supply during the survey and tell you which work, if any, is needed before installation. Panel changes or new breakers are presented as separate items, so you can see their scope and purpose before any work begins.
Tosot equipment carries a 7-year warranty out of the box, which is a useful point to compare when you weigh ductless brands. We explain what the manufacturer warranty covers and which paperwork to keep on file for future reference. Our team reviews those terms with you during the planning conversation, so the coverage is clear before you choose a system.
Clear the walls and floors near each proposed indoor unit location, and move furniture away from the outdoor unit site so the crew can work safely. If a room is occupied by people or pets during the work, let us know ahead of time so we can plan access. Gather any earlier equipment information you have, and note any rooms you want to revisit during the walkthrough. Our team confirms expectations before the work begins.
Service Communities
Where We Install Ductless Systems
Our ductless installation team works from our New Bern office and serves these North Carolina communities. Each community has its own mix of homes, additions and room layouts, which is part of why we start every installation with the same room-by-room survey. For a broader look at our coverage, see our service area overview.
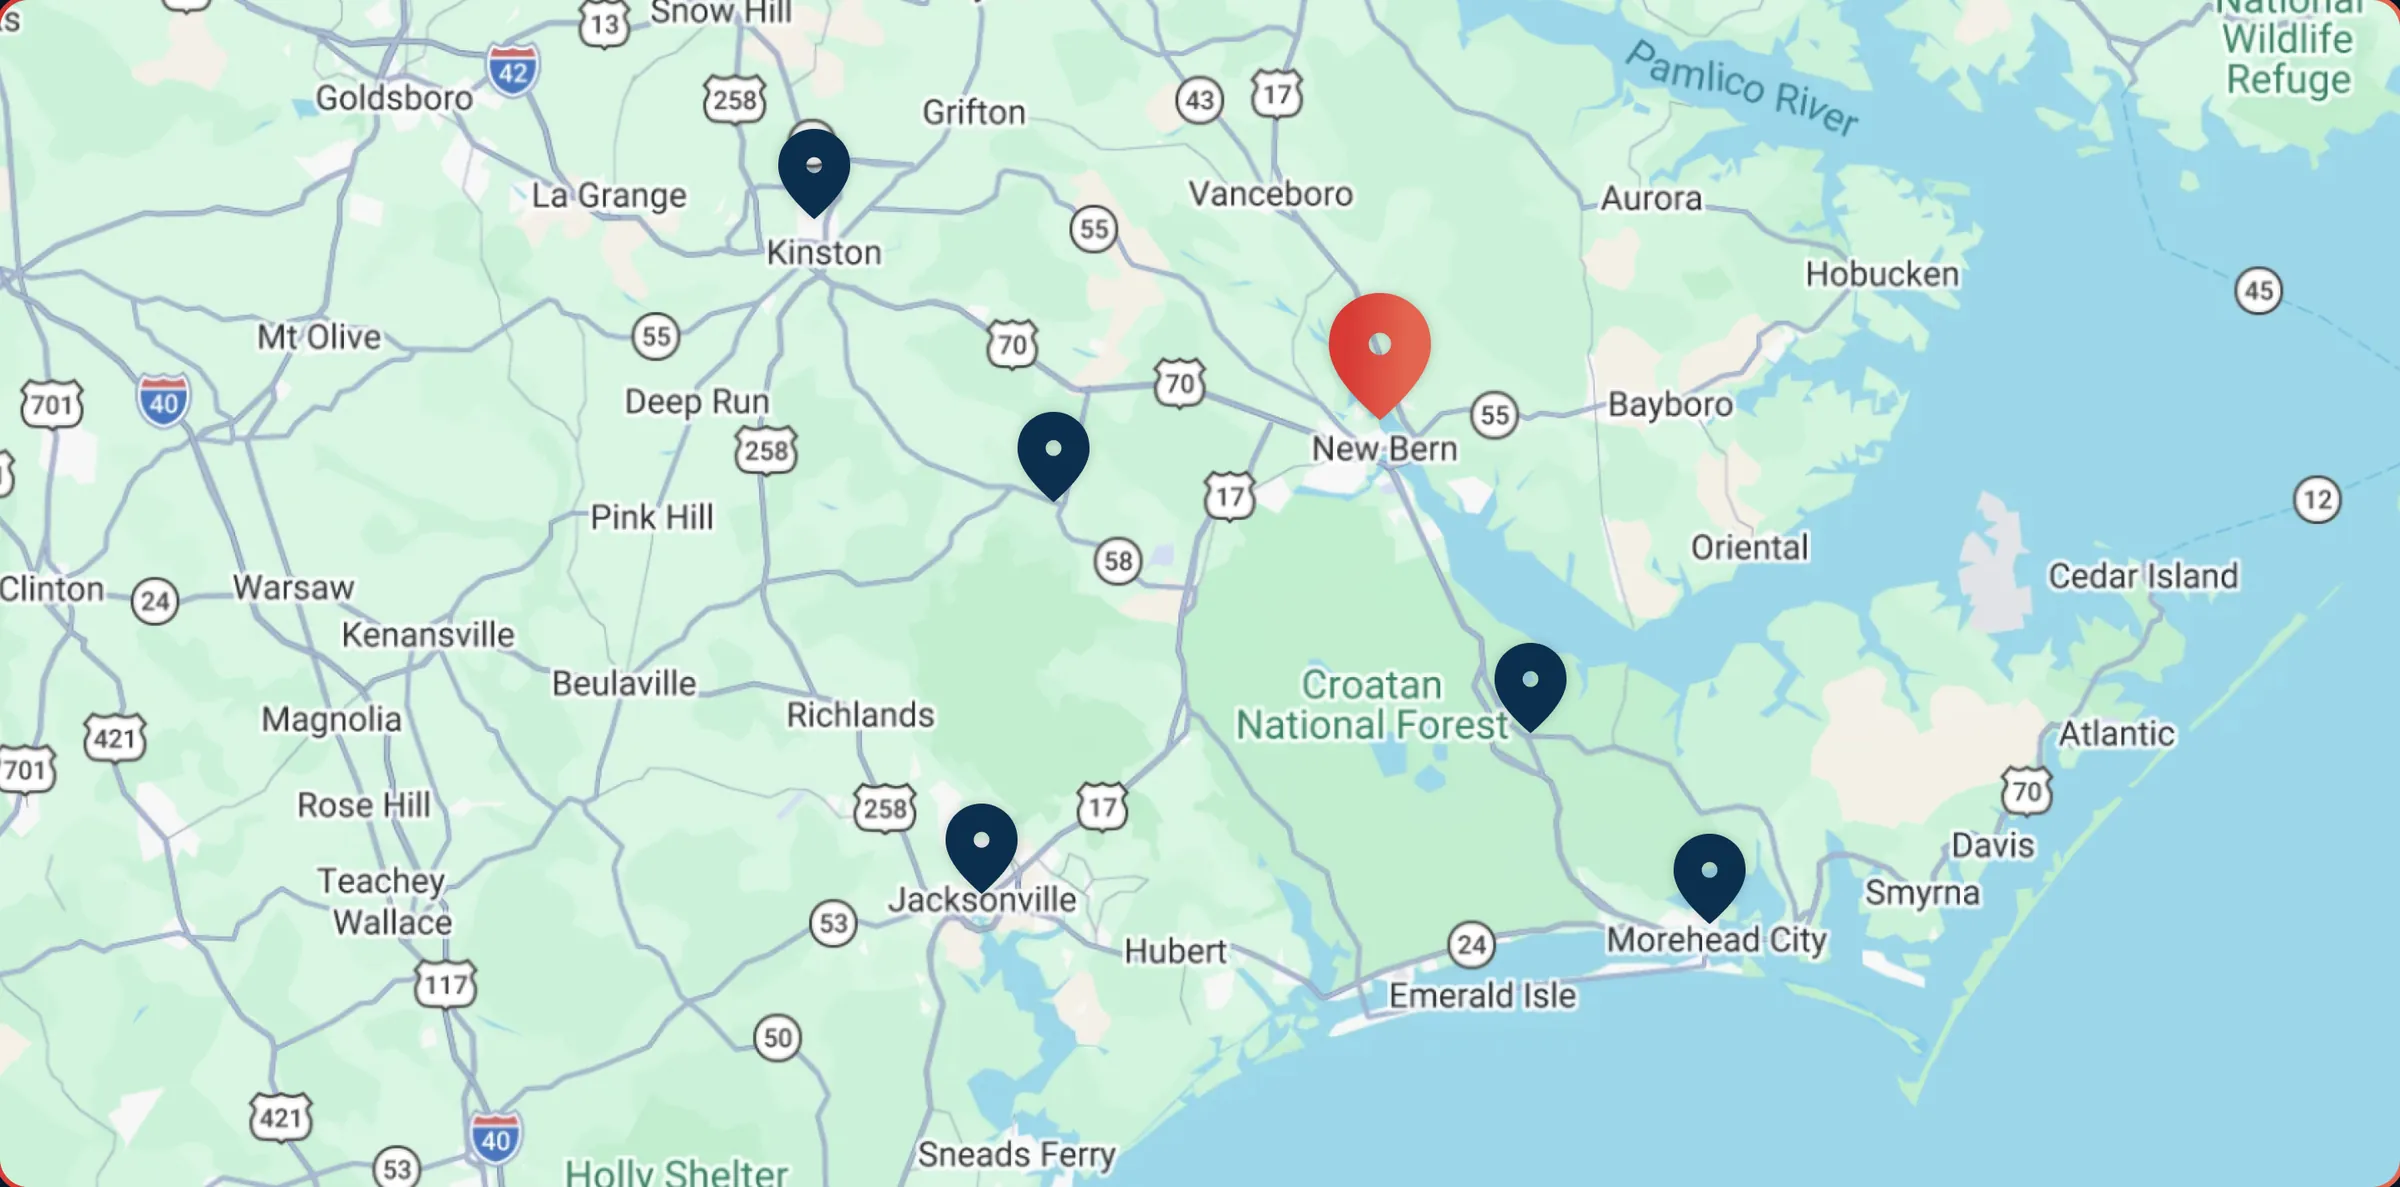
- New Bern, NC
- Morehead City, NC
- Jacksonville, NC
- Havelock, NC
- Trenton, NC
- Kinston, NC

Additional Communities Served
Don’t see your town listed? We regularly help customers in nearby communities throughout the region. Give us a call and we’ll let you know if we can reach you.
Beyond Ductless
Other Heating and Cooling Options to Compare
A ductless system is one choice among several, so these related options are worth weighing alongside your installation plan.
Central air conditioning
Central AC installation and replacement for homes that already have ductwork in place.
Learn More about Central air conditioningDucted heat pumps
Whole-home heating and cooling through one ductwork system, useful when comparing ductless with ducted equipment.
Learn More about Ducted heat pumpsFurnaces
Heating system installation for homes that rely on warm air from a central source.
Learn More about FurnacesPackaged units
Single-cabinet heating and cooling with installation, repair and maintenance options.
Learn More about Packaged unitsGeothermal repair and service
Repair and service for ground-source systems, for homeowners exploring different heating and cooling technologies.
Learn More about Geothermal repair and service
A ductless project goes best when we know the rooms you want to condition, what is making them uncomfortable and how the household uses each space. As a family-owned and locally-owned company based in New Bern, we treat every mini-split project as a long-term investment in your home, not a one-time transaction. Our team reviews those details, explains the layout and walks you through the reasoning behind each recommendation, so the system fits the home rather than a sales target. We bring 22 years of experience to that process, and we are glad to answer the practical questions that come with choosing between ductless and ducted equipment.
If you are weighing a new installation against repair or planned care, Service Finance may make a larger project easier to budget over time, and our maintenance plan can keep the system on a regular schedule once it is running. Both options are explained in plain terms during your consultation, and approval and terms for financing are set by the lender. As a Tosot Dealer who also works with Mitsubishi equipment, we can walk you through the warranty coverage that comes with each system, including the 7-year warranty that ships with Tosot equipment, so you understand what is protected before you commit.
Whether you live in New Bern or in one of the communities we serve nearby, you can explore our full range of services to see how ductless installation fits alongside the rest of your home’s heating and cooling. Every project includes written notes covering the layout, the equipment selected and the warranty details, so you have a record to reference long after the installation is complete. When you are ready, reach out to talk through your rooms and your current equipment, and we will explain what we find and what we recommend.